


Getting a parcel ready might seem straightforward until a customer messages you about a broken item or a box that looks like it went through a storm.
In ecommerce, knowing how to pack a parcel the right way is just as important as how fast you deliver. Damaged goods don’t just hurt your margins, they hurt your reputation.
So whether you're shipping 10 or 500 parcels a month, this guide walks you through everything you need to know to pack and ship a parcel the right way, avoiding damage, keeping costs down, and leaving your customers with a great impression.
In this article, you’ll find:
- Why Proper Parcel Packaging Matters
- Choose the Right Packaging Type
- Wrap Items Properly to Prevent Damage
- Check Prohibited and Restricted Items Before You Pack
- Seal Your Parcel the Right Way
- Measure and Weigh Accurately to Avoid Surcharges
- Common Packaging Mistakes to Avoid
- Pack Smarter, Ship With Confidence
Why Proper Parcel Packaging Matters
Packaging directly affects delivery success, shipping costs, and customer satisfaction. If a box is too large, you may pay extra due to volumetric weight. Too small or overfilled, and it risks splitting during transit. Under-filled boxes can also collapse under the weight of other parcels.
Choosing the right packaging reduces damage, lowers refund requests, and ensures items arrive in good condition. It also helps you avoid courier surcharges from manual handling, which happens when a parcel isn't sealed properly, lacks a flat surface for scanning, or breaks open in transit.
Efficient parcel packaging isn't just a best practice. It's essential for any ecommerce business that wants to protect its reputation and keep shipping costs under control. Here are our top packaging tips to help you get it right every time.
Step 1: Choose the Right Packaging Type
Choosing the right packaging is the foundation of safe parcel delivery. With over a decade of experience in the fulfilment industry, here are our recommendations.
Use the Correct Box Size
The right box size stops items from moving around and touching each other. Under-filled boxes are likely to collapse, and overloaded ones may burst. Your box should be slightly bigger than the item you're sending, with enough room for at least 5 cm of cushioning on all sides. Keep these tips in mind:
- Leave at least 5 cm of space around each item for cushioning.
- Fill anyempty space with cushioning materials.
- Don’t let products rattle or touch the sides of the box.
- For multi-item orders, space each product apart to prevent damage in transit.
- Once packed, give the box a gentle shake. If something moves, add more cushioning.
Not sure which box to use for multi-item orders? Our Smart Boxing algorithm figures out the most space-efficient way to pack your items, reducing the number of parcels and keeping shipping costs lower. It also streamlines the booking process and reduces the time and materials required for packing, making it perfect for handling multi-item orders more efficiently.
Always Use Double-Walled Boxes
Double-walled corrugated cardboard boxes are the recommended choice for all parcels, but especially for heavier and fragile items. The extra layer of cardboard provides better protection against crushing, rough handling, and stacking during transit. For items over 12 kg, always use heavy-duty reinforced cartons.
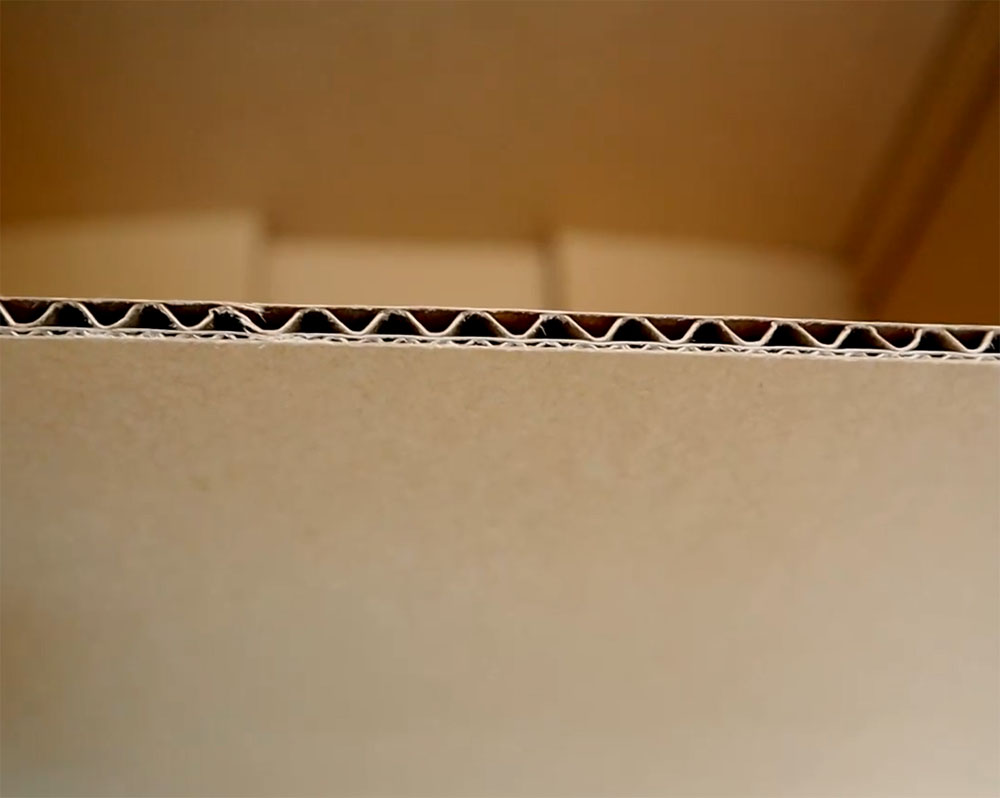
Avoid reused or weak boxes as they break down over time and increase the risk of damage. A box with punctures, corner damage, or crushed edges will not hold up under the stacking pressure of transit. Your box is your first line of defence, so make it count.
A Note on Retail and Gift Packaging
Retail and gift packaging is not designed for courier handling. If you're sending a product that comes in its own branded box, always place it inside a sturdy outer box with at least 5 cm of cushioning around all sides. The outer packaging is what protects your product through sorting facilities and transit, so don't rely on the product box alone.
Sending Satchels
Satchels are a great eco-friendly option for non-fragile, soft, or flexible items like clothing and documents. Just make sure you use courier-approved satchels that are strong and undamaged. Do not overfill them as this causes the satchel to split and can warp the label surface, making it unreadable. For items that need a little extra protection, go for a padded satchel with bubble wrap built into the lining.
Step 2: Wrap Items Properly to Prevent Damage
Good cushioning absorbs impact and stops items from moving around inside the box. Start with a base layer of at least 5 cm of cushioning at the bottom of the box before placing anything inside. Wrap each item individually and never let two items touch each other directly. Leave at least 5 cm between each item and the sides of the box, and fill all empty space. Heavy items go at the bottom, with lighter and fragile items on top and away from the sides.
Fragile items should always be placed in the centre of the box, well away from the sides, and surrounded by cushioning on all sides.
Here's a breakdown of the most common cushioning materials and when to use each one:
- Bubble Wrap
Ideal for fragile items like glassware, electronics, or ceramics. Wrap tightly in at least two layers and secure with tape. Excellent protection, though not the most sustainable option. - Hex Wrap
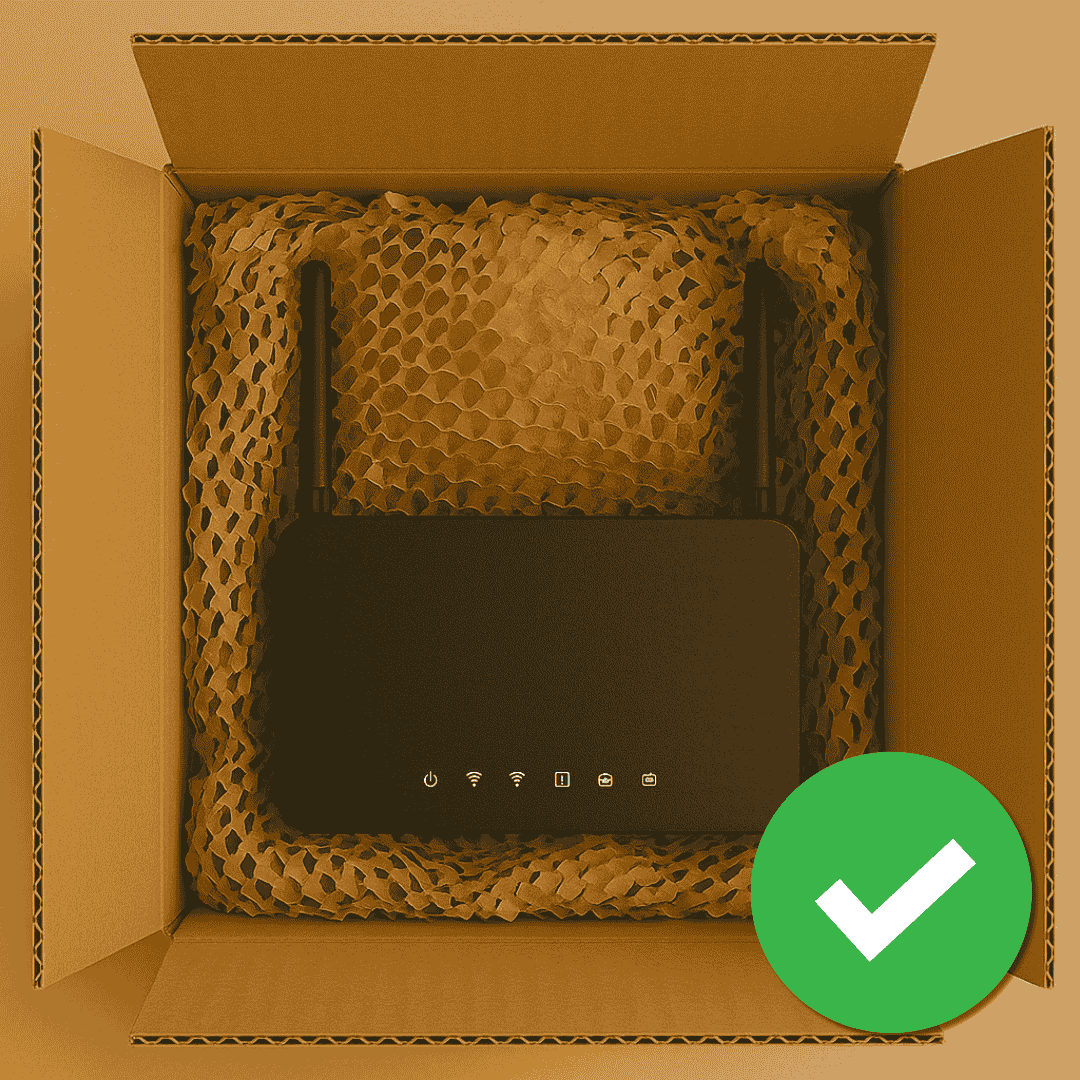
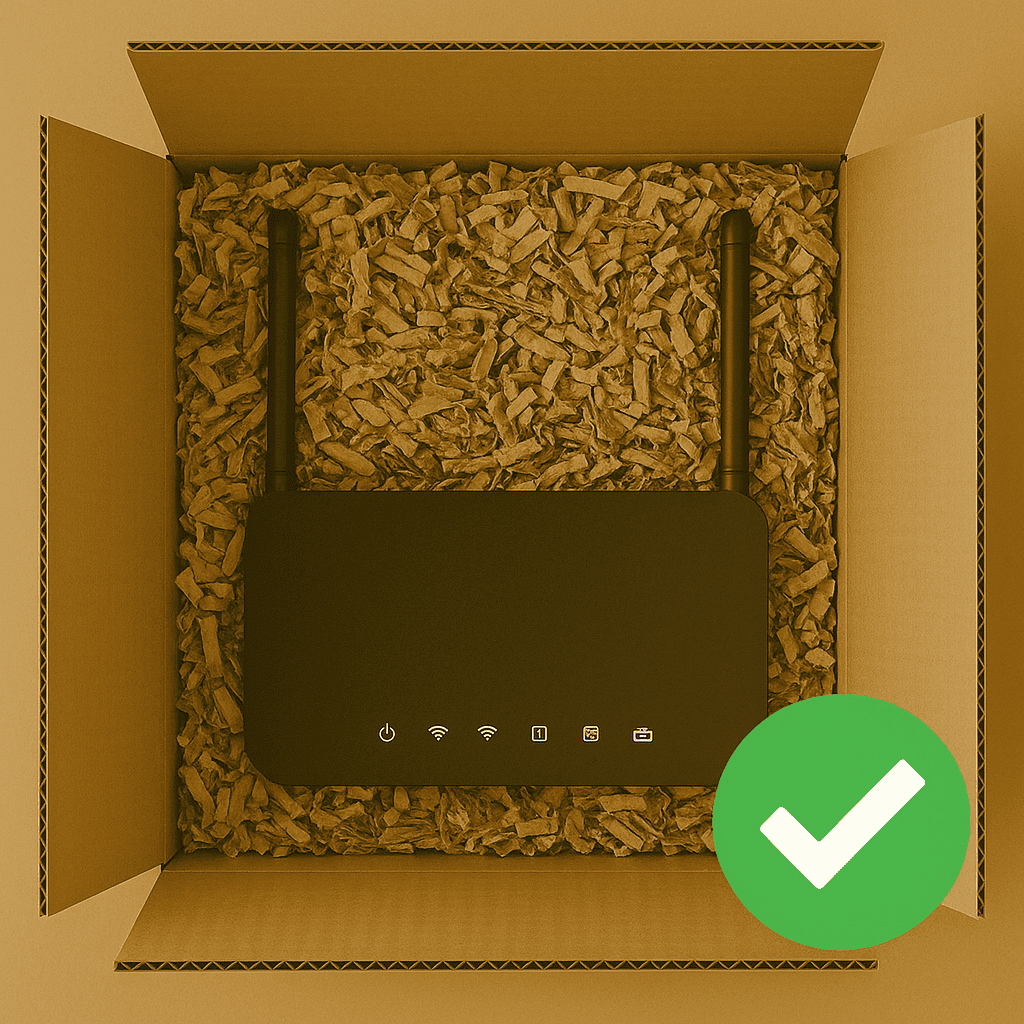
A recyclable, honeycomb-style paper wrap that cushions like bubble wrap but without the plastic. Flexible, lightweight, and perfect for brands prioritising eco-friendly packaging. - Shredded Cardboard
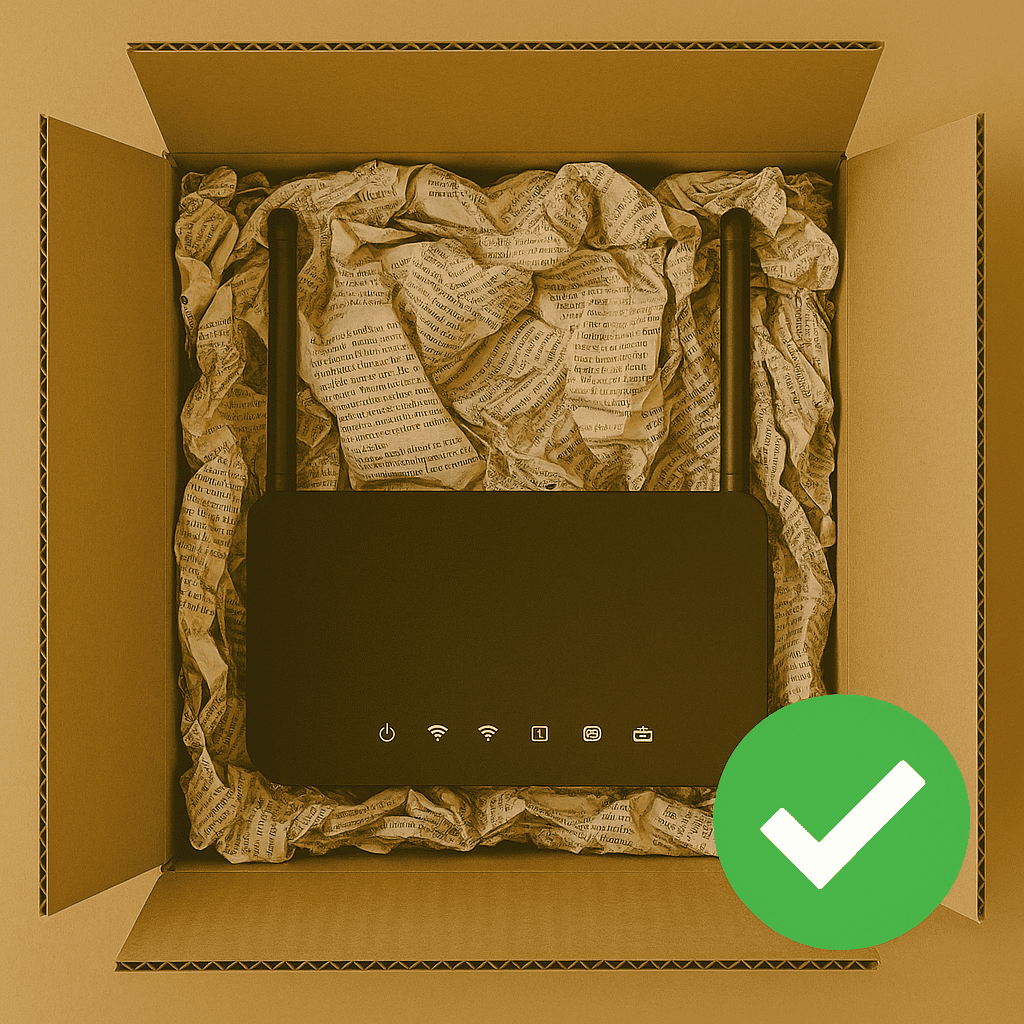
Made from recycled boxes, great for filling gaps and protecting heavier items. Absorbs impact without adding much weight. - Crumpled newspaper
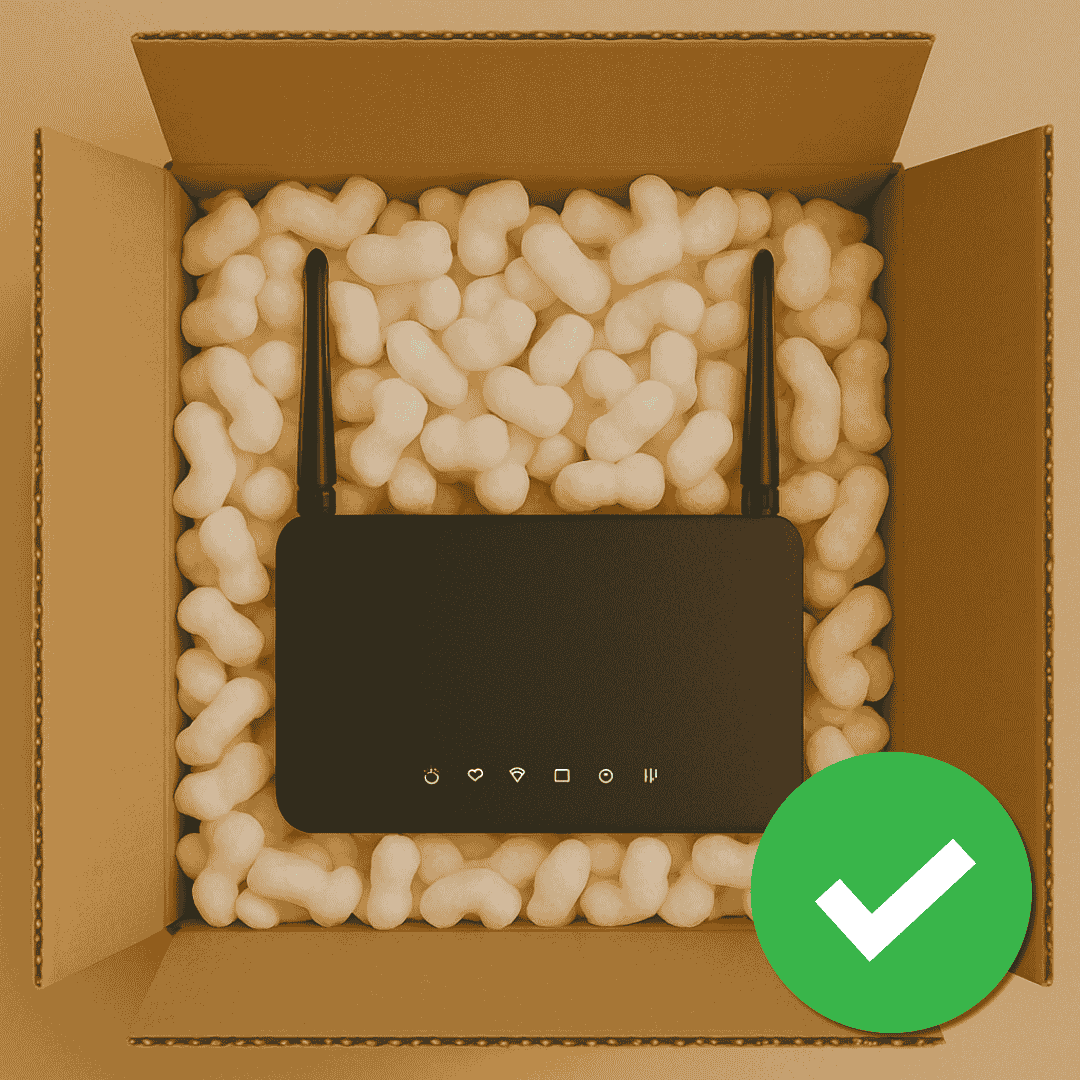
A budget-friendly filler for less fragile items. Easily accessible and eco-conscious, but may not offer enough protection for delicate goods. - Foam Peanuts
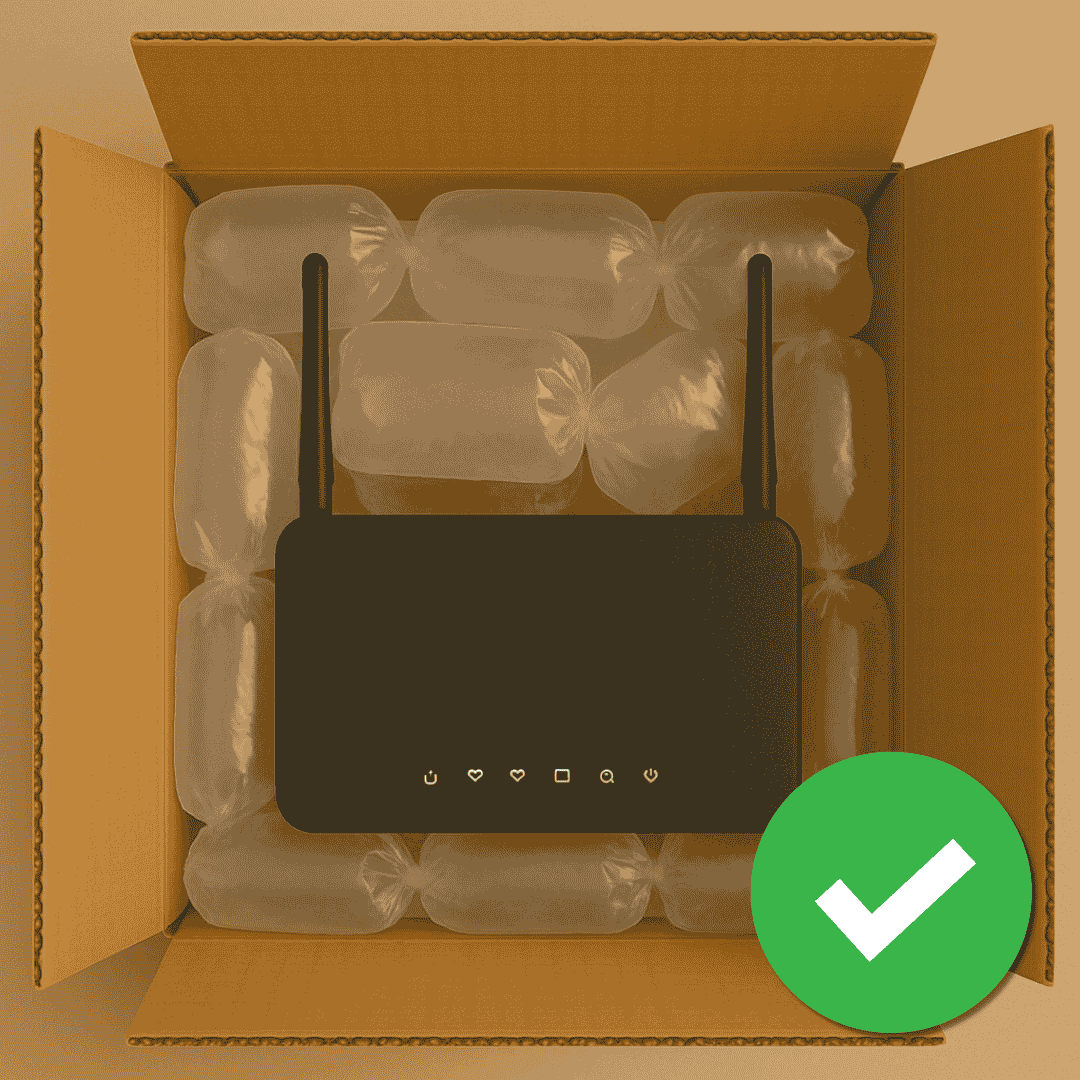
Perfect for cushioning oddly shaped or lightweight items. Make sure they are tightly packed, as any shifting means your product shifts too. - Air Pillows
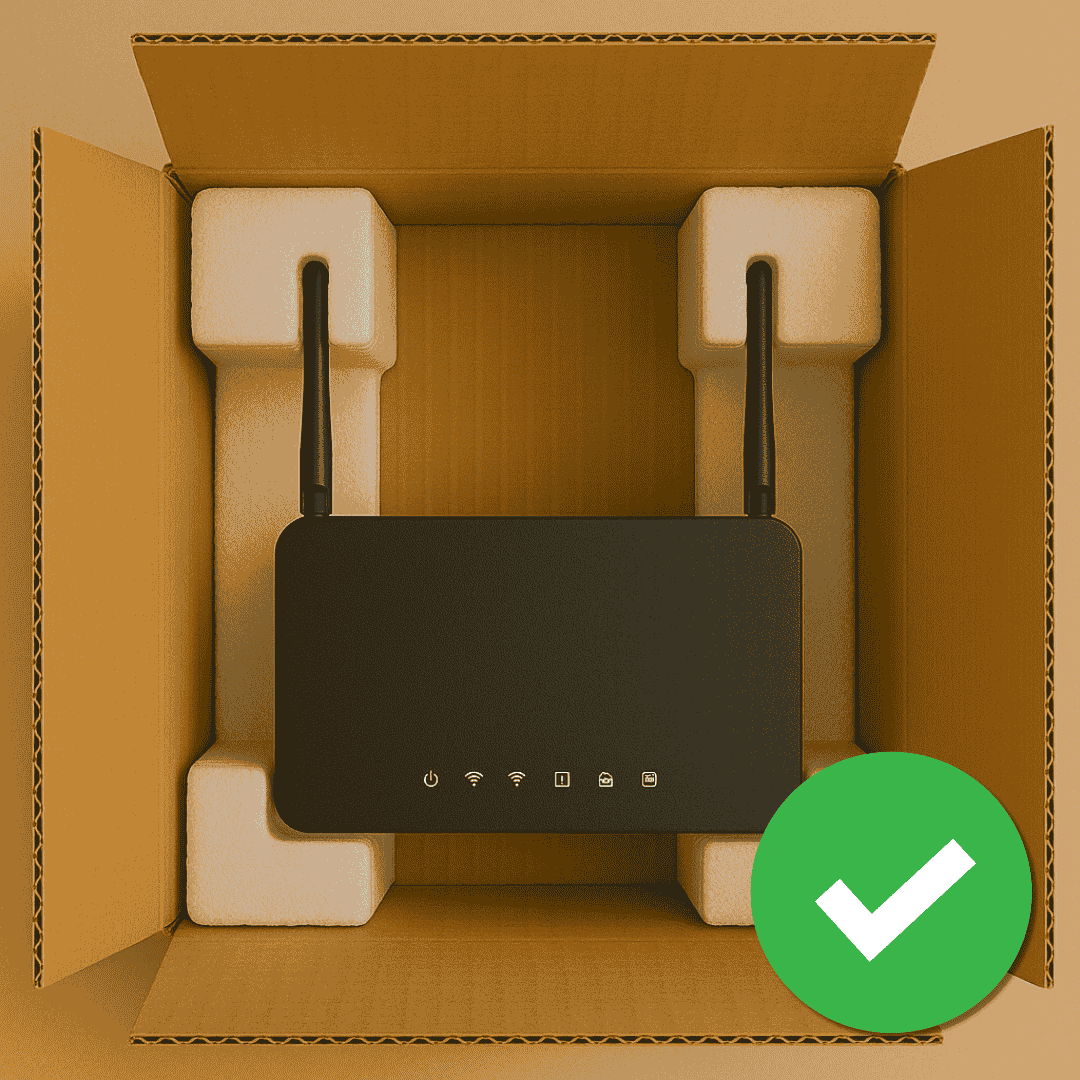
Lightweight and space-efficient inflatable cushions. Best used to fill voids around non-fragile items. - Foam Inserts
Ideal for high-value or precision items like electronics or instruments. Moulded inserts keep products locked in place and provide maximum protection during transit. - Cardboard Dividers
A great option when sending multiple items in one box, keeping everything separated and preventing items from knocking against each other.


Once packed, give the box a firm shake. If anything moves inside, add more cushioning before sealing.
Step 3: Check Prohibited and Restricted Items Before You Pack
Before you start packing, it is worth taking a moment to check whether what you are sending is permitted on Interparcel's network. Sending prohibited or restricted items can result in surcharges, delays, confiscation, or refusal of collection and in some cases, no transit warranty will apply.
- Prohibited items: Cannot be sent under any circumstances.
- Restricted items: If you choose to send them, the cover applies to loss only and not damage, and you do so entirely at your own risk.
| Prohibited Items | Restricted Items |
| Aerosol cans/spray | All liquids/lotions |
| Batteries | Passports |
| Fireworks | Whitegoods |
| Perishable food items | Computer monitors |
| Furniture that is not flat-packed | Mobile phones |
| Magnets | Tablets |
| Tobacco products | TVs |
| Alcohol | Stringer musical instruments |
For the full list, visit our prohibited and restricted items guide.
Step 4: Seal Your Parcel the Right Way
Once your items are packed, the next critical step is sealing the box securely. A poorly sealed parcel can open during transit, increasing the risk of damage, lost items, or courier rejection. Getting this right is a key part of knowing how to pack a parcel for a courier correctly.
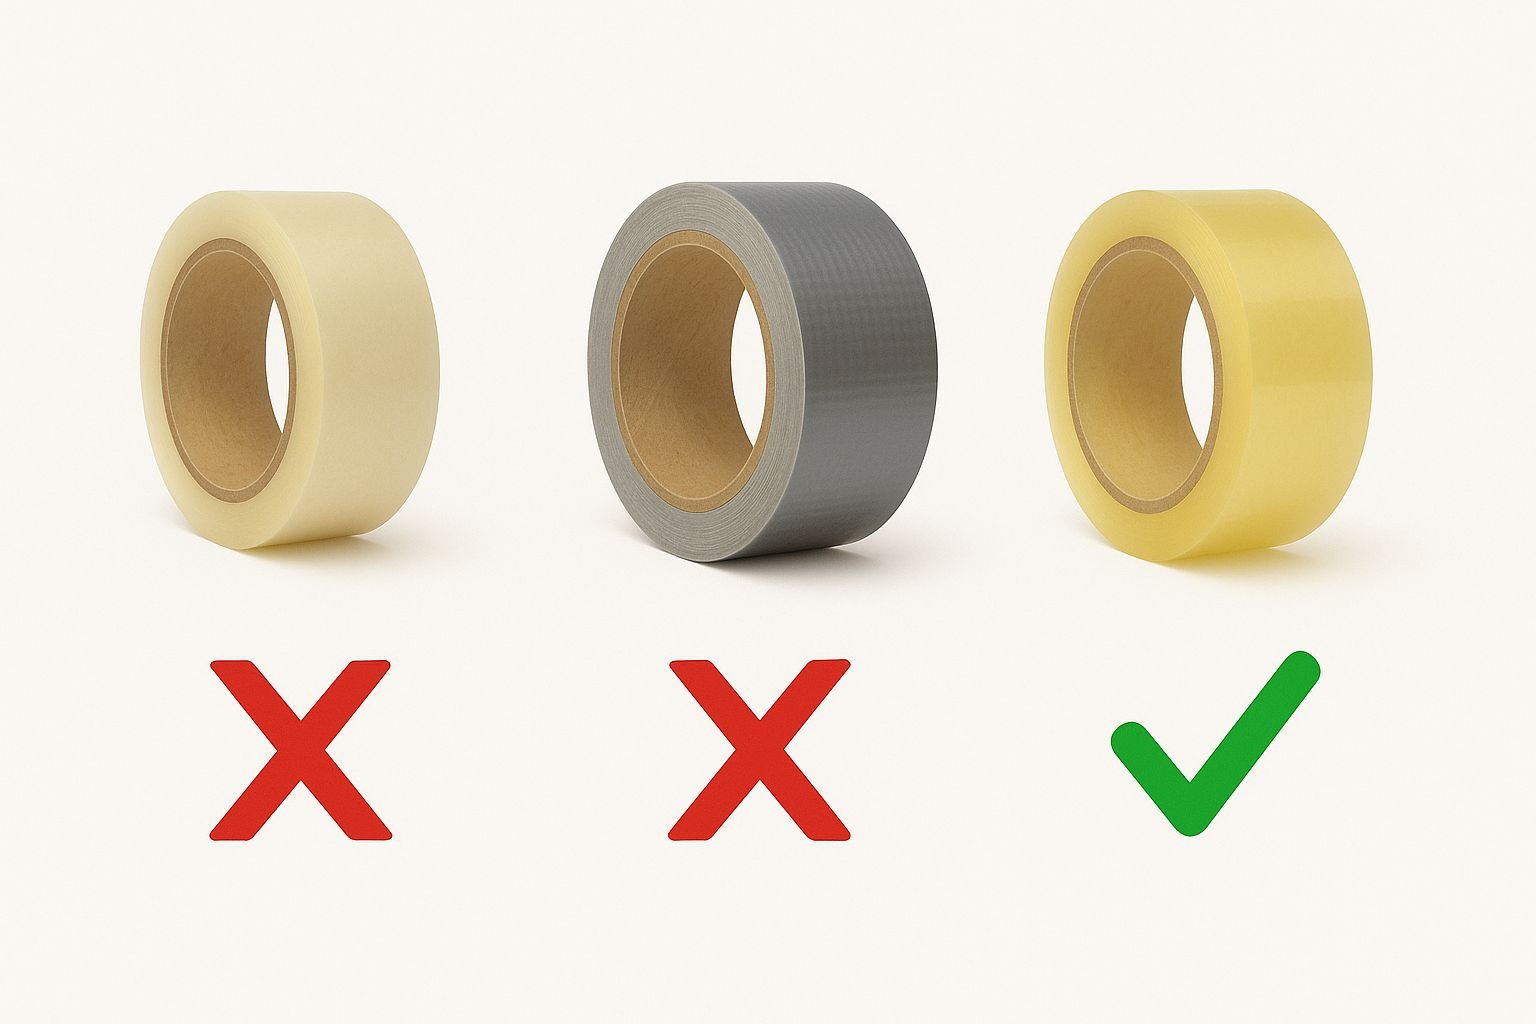
Use the Right Tape
Always use strong, pressure-sensitive packing tape that is at least 48mm wide. It is specifically designed to bond well to cardboard and withstand the handling pressures of transit. The following are not acceptable as they do not provide adequate security and may cause your parcel to open in transit:
| Tape Type | Why to Avoid |
| Cellophane Tape | Not strong enough for parcel shipping |
| Masking Tape | Peels off during handling or weather changes |
| Duct Tape | Not acceptable by many couriers |
| Rope or String | Hazard for automated sorting machines |
How to Seal Your Box
Always use the H-tape method for sealing, regardless of what you are sending:
- Tape along the central seam of the box, both top and bottom.
- Add a strip of tape along each open edge to form an "H" shape.
- Apply multiple overlapping layers on all seams for extra strength.
- Tape the base of the box the same way before you start packing.
Seal your parcel securely, but avoid making it impossible to open. Customs and courier personnel may need to inspect the contents without destroying the packaging.
Remove Old Labels and Barcodes
If you are reusing a box, make sure it is still rigid and free of punctures, corner damage, or crushed edges. Remove all old shipping labels, addresses, and barcodes completely before repacking. Covering them is not enough, as old barcodes can still confuse automated scanning systems, resulting in your parcel being misrouted, delayed, or lost.
Step 5: Measure and Weigh Accurately to Avoid Surcharges
Getting your measurements right is one of the most important things you can do before booking a courier. Incorrect dimensions or weight can lead to surcharges, delays, or even a returned parcel. Courier conveyor systems automatically scan actual dimensions and weight, so estimating low will not help.
What you Will Need
- A tape measure or ruler
- A digital parcel scale. Kitchen or luggage scales are often inaccurate for courier purposes. If you ship regularly, it is worth investing in a proper digital one
How to Measure
- Always measure after packing and sealing, never before.
- Measure length, width, and height from the farthest points, including any bulging or loose packaging.
- Place one end flat against a wall for a more accurate read.
- Round up to the nearest centimetre, always up and never down.
- For irregularly shaped items, pack them into a box first and then measure the packaged parcel.
How to Weigh
- Place your fully packed and sealed parcel on the scale.
- Always round up to the nearest 0.5 kg.
Dead Weigh vs Volumetric Weigh
Couriers look at two figures when calculating your shipping rate:
- Dead Weight: The weight of the package, rounded up to the next kilogram. A package that weighs 6.6kg would have an actual weight of 7kg.
- Volumetric Weigh: A calculated weight based on the space your parcel occupies compared to its actual physical weight. Couriers measure this using length x width x height divided by a carrier-specific factor.
The shipping rate is based on whichever figure is higher. A large but lightweight parcel, like a cushion, will often be charged on volumetric weight, so factor this in when choosing your box size.
Common Measurement Mistakes to Avoid
- Estimating instead of measuring.
- Measuring the item before packing.
- Forgetting to round up.
- Not accounting for bulging in overfilled satchels.
- Entering the wrong dimensions in the booking process.
Step 6: Common Packaging Mistakes to Avoid
Even seasoned ecommerce businesses can fall into packing habits that lead to damaged goods, higher costs, or poor customer experiences. Here are the most common shipping mistakes and how to avoid them.
1. Using Low-Quality or Inappropriate Boxes
Cheap boxes seem like a cost-saving upfront, but they often collapse or tear during transit. Always use double-walled corrugated cardboard boxes and choose a size rated for the weight of your typical products.
How to avoid it:
Invest in double-walled corrugated cardboard boxes for heavier items or fragile goods. Choose box sizes and materials rated for the weight of your typical products.
2. Overcomplicating Your Packaging
Over-packaging or using hard-to-open materials can frustrate customers during unboxing, and even lead to negative reviews. Keep it simple. Prioritise functionality and protection over presentation alone.
3. Overpacking or Underpacking
Overfilling boxes causes bulging or bursting. Underfilling leaves empty space, letting products shift and get damaged in transit. Choose a box that fits your item closely, leave at least 5 cm of cushioning on all sides, and fill all empty space.
4. Choosing Oversized Boxes
Bigger boxes mean higher shipping costs due to volumetric weight pricing. You're not just paying for weight of your parcel but the space it takes up in the truck or plane. Match your packaging to the actual size of your product and use Interparcel’s Smart Boxing feature to find the most efficient way to pack multi-item orders.
5. Ignoring Sustainability
Today’s customers care about the environmental impact of their purchases. Around half of Australian shoppers now consider sustainability packaging a deciding factor at the checkout, and 61% of online shoppers globally say sustainability packaging influences their decision to shop with a brand. Opt for recyclable or compostable materials like hex wrap, paper-based void fill, or biodegradable satchels. Keep your packaging minimal, protective, and eco-counscious.
Pack Smarter, Ship With Confidence
Good packaging is what stands between your product and a bad customer experience. Every parcel you send is a direct reflection of your brand, and getting it right makes a real difference to your customers and your bottom line.
From choosing the right box to sealing it properly, the steps in this guide give you everything you need to pack and ship a parcel with confidence. And if you ever need a quick reference along the way, our packaging knowledge base has you covered.
Want to see it all in action? Watch our step-by-step packing video below for a visual walkthrough of everything covered in this guide. And if you need tailored shipping advice for your business, our team is ready to help.
Ready to ship? Get a quote with Interparcel today!


 Facebook
 Twitter
 Instagram
 Linked In
 YouTube